Introduction to Microgreens
Microgreens are young, edible plants that are harvested shortly after the first true leaves have developed, typically within 7 to 21 days after germination. These tiny greens include a variety of vegetables, herbs, and sometimes even edible flowers, making them a versatile addition to meals. They are not only visually appealing but also packed with flavor, making them a popular choice in culinary circles and among home cooks.
The nutritional benefits of microgreens are substantial; they are rich in vitamins, minerals, and antioxidants. Studies have found that many varieties of microgreens contain higher concentrations of nutrients compared to their mature counterparts. For instance, red cabbage microgreens have shown to possess up to 40 times the nutrients found in mature red cabbage. Integrating microgreens into your diet can lead to enhanced health benefits, making them an excellent choice for those looking to increase their intake of nutrients.

- Durable Beginner Tray Kit – Ultra Durable, will last you many years!! Top-Quality BPA Free Plastic Trays With Holes. The…
- Transplanting Plants – The seed starter kit for indoors by becoming one with the root ball ,promoting aeration, these am…
- Starter Tray- This kit includes 5 watering tray.There is no more leaks.Just water your seeds & plants.This plant trays f…
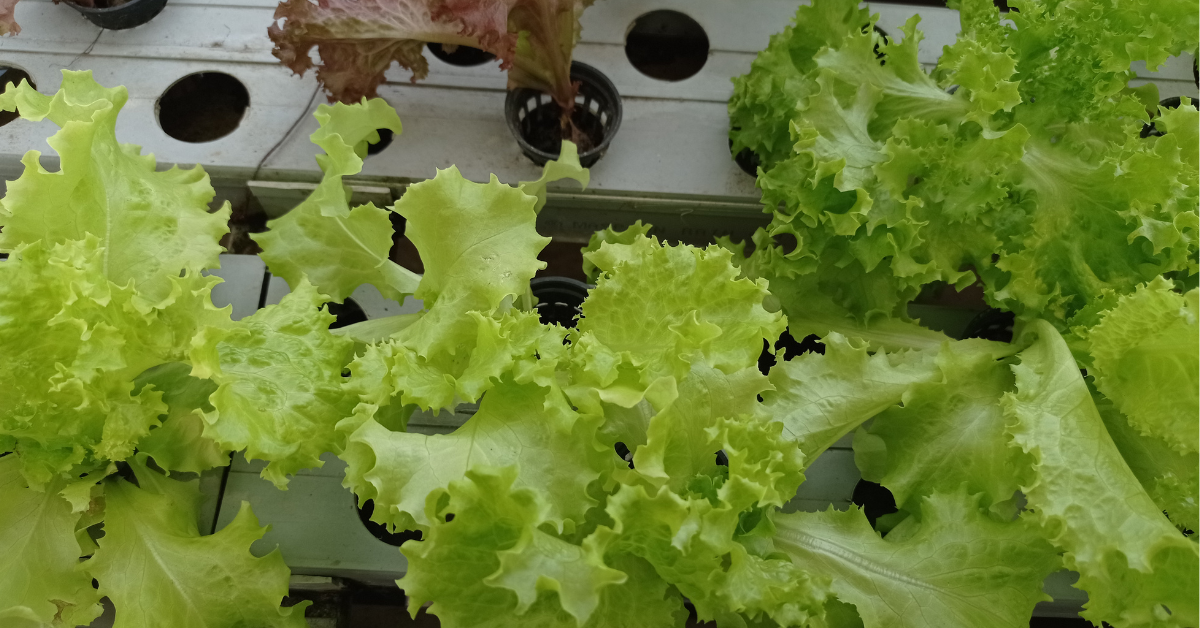
One of the primary reasons for the rising popularity of microgreens is their ease of cultivation, especially within a kitchen setting. They require minimal space and can be grown in small containers or trays, making them ideal for urban dwellers or those with limited gardening space. Growing microgreens without soil, often using methods such as hydroponics, allows individuals to cultivate these nutritious greens in a clean and efficient manner. This soil-less method not only saves on space but also reduces the likelihood of pests and diseases, allowing for a more controlled growing environment.
Moreover, the joy of growing your own microgreens comes with the satisfaction of providing fresh, nutritious produce right from your home. Their quick growth cycle also means that you can enjoy a continuous supply of greens, perfect for garnishing dishes, adding to salads, or enhancing smoothies. As more people become interested in home gardening, the trend of cultivating microgreens without soil continues to gain traction, proving to be a fulfilling hobby and a practical food source.
Choosing the Right Microgreens
When embarking on the journey of growing microgreens in your kitchen without soil, the first step is to consider which varieties to cultivate. Microgreens are young, edible plants harvested shortly after germination, and they come in a wide array of flavors, colors, and nutritional profiles. Popular options include basil, radish, broccoli, and sunflower microgreens, each offering distinct characteristics that cater to various culinary applications.
Basil microgreens, for instance, are well-regarded for their strong aroma and flavor, making them an excellent addition to salads and sandwiches. In contrast, radish microgreens deliver a spicy bite, perfect for those looking to add a zesty twist to dishes. Broccoli microgreens are renowned for their high nutritional value, rich in vitamins A, C, and K, along with antioxidants, making them a nutritious choice for health-conscious individuals. Sunflower micros, noted for their crunchy texture and nutty taste, lend a delightful touch to soups and wraps.
It is essential to select microgreens based not only on flavor preferences but also on their nutritional benefits and growth duration. Some varieties, like arugula and mustard greens, germinate quickly, within 5 to 7 days, while others may take up to two weeks. Assessing your cooking styles and nutritional goals will help steer your choice. For example, if you desire greens that can be incorporated into meals quickly, opt for faster-growing varieties.
In conclusion, understanding the different types of microgreens and their unique attributes is crucial for a successful kitchen garden. Selecting the right microgreens based on taste, nutrition, and growth time will ensure that your experience in growing and harvesting these vibrant plants is rewarding and enjoyable.
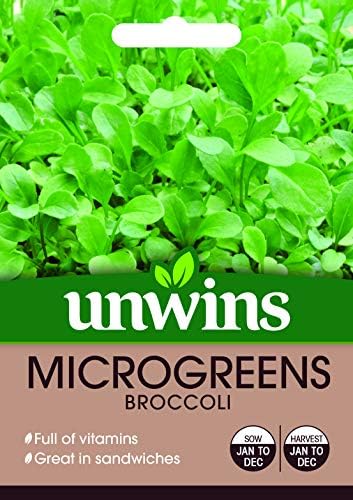
- Provides high level of nutrients with clean, fresh flavours
- Easy to grow and harvest
- Harvest just before serving
Materials and Supplies Needed
Growing microgreens in your kitchen without soil can be a rewarding experience, requiring only a few essential materials. The key items you will need include containers, seeds, water, and light sources.
Firstly, for the containers, you have several options. Shallow trays or any flat plastic containers work well for microgreens, providing ample space for their roots to grow. You may also consider repurposed items such as food containers or even flower pots. Ensure that your containers have drainage holes to prevent waterlogging, which can lead to root rot.
Next, selecting the right seeds is crucial. Choose high-quality microgreen seeds, which can be sourced from gardening stores or online retailers. Common varieties include broccoli, radish, and mustard seeds, known for their rapid growth and nutrient density. It’s advisable to look for organic seed options to minimize exposure to chemicals.
Water is another vital component, as microgreens need consistent moisture for optimal growth. Using a spray bottle can be an effective way to mist your microgreens daily, ensuring they receive enough hydration without overwhelming them with excess water.
Finally, providing adequate light is essential for photosynthesis. Microgreens typically require 12 to 16 hours of light each day. If natural sunlight is insufficient, consider investing in affordable grow lights. LED lights are energy-efficient and less heat-intensive, making them a great choice for cramped kitchen spaces.
By gathering these materials, you’ll create an optimal environment for growing microgreens in your kitchen without using soil, enhancing your culinary adventures with fresh, homegrown greens.

- Microgreen seeds – Easy to grow
- Takes just 8 days from start to finish!
- Perfect for indoor growing in small spaces
Preparing Your Growing Space
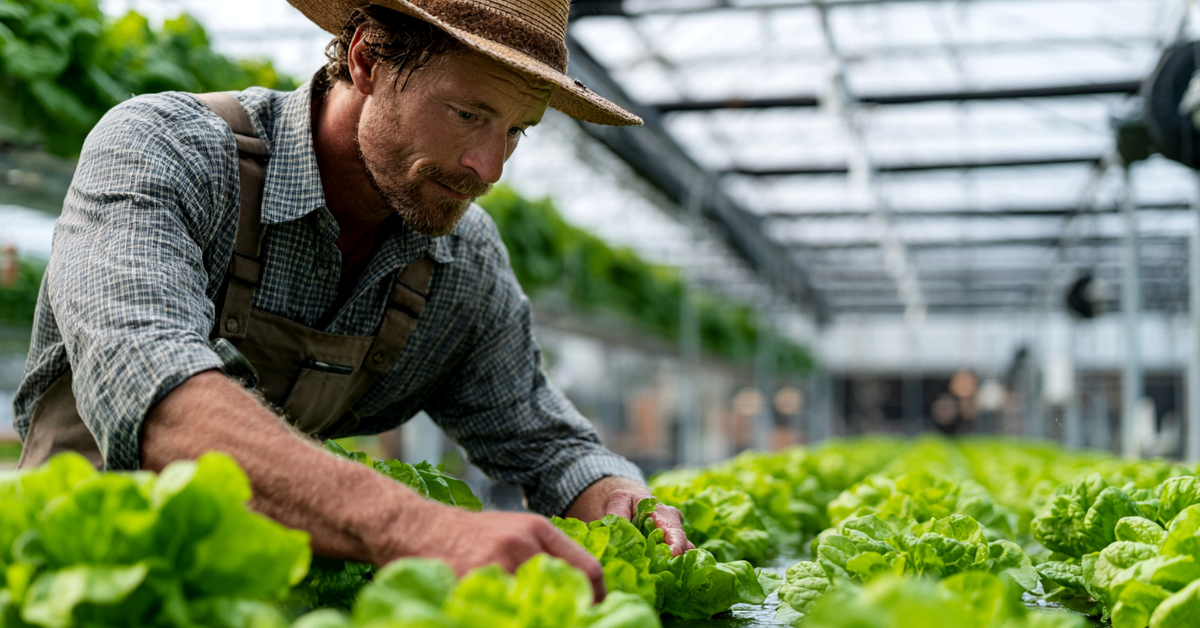
When embarking on the exciting adventure of growing microgreens in your kitchen, the first step is to meticulously assess and prepare the optimal space for this endeavor. The location not only affects the health of your microgreens but also impacts the ease of their maintenance. Begin by evaluating the amount of natural light that the prospective area receives. Microgreens thrive in bright light environments; thus, selecting a window with ample sunlight can significantly boost their growth. However, if natural light is insufficient, consider supplementing with grow lights to ensure your microgreens develop properly.
Next, temperature plays a crucial role in the cultivation of microgreens. Ideally, aim for a consistent temperature range of 60°F to 75°F (15°C to 24°C). Fluctuations can stress the plants, leading to subpar growth or even failure. It is wise to avoid placing your microgreens near heat sources, such as stoves or radiators, as excessive warmth can lead to rapid drying. On the other hand, extreme cold from drafty windows can also hinder development.
Moisture control is another essential aspect of creating your microgreen growing space. You want to maintain a balance where the growing medium remains damp but not waterlogged. Use clear plastic domes or trays with lids to help retain humidity while monitoring the moisture level regularly. Lastly, cleanliness and organization cannot be overlooked. Ensure the area is free from dirt, pests, or mold, as these can adversely affect your microgreens. By maintaining an organized space and adhering to these guidelines, you create an environment conducive to the healthy growth of your microgreens.
Sowing and Watering Techniques
Microgreens are a nutritious addition to your meals, and growing them in your kitchen without soil is both space-efficient and environmentally friendly. To start this journey, it is essential to master the techniques of sowing and watering microgreen seeds effectively.
The first step in sowing microgreen seeds is to select an appropriate growing medium. While traditional soil is not used, options such as coconut coir, hydrogel, or even paper towels can provide a suitable anchor for your seeds. Once you have chosen your medium, prepare it by evenly spreading it across your chosen container, ensuring a depth of at least half an inch.
Next, it is time to sow the seeds. Scatter the microgreen seeds evenly over the surface of the growing medium, taking care not to overcrowd them. A general rule of thumb is to aim for 1 to 2 seeds per square inch, depending on the seed variety. After sowing, lightly press the seeds into the medium to ensure good contact without burying them too deeply. For optimal germination, cover the container with a humidity dome or plastic wrap, as this will create a warm and moist environment.
Watering is a crucial aspect of growing microgreens without soil. To prevent overwatering, which can lead to damping-off disease, use a spray bottle to gently mist the seeds and the growing medium. It is important to keep the medium consistently moist but never soggy. Watering should be done daily, especially during the germination phase. Once seedlings emerge, reduce the frequency to every two days, adjusting based on the environmental conditions such as temperature and humidity.
By following these sowing and watering techniques, you will provide your microgreens with the best chance for healthy growth, yielding vibrant, nutritious greens ready for your kitchen.
Providing Proper Light Conditions
Light is an essential factor in the cultivation of microgreens, playing a significant role in their growth and development. To optimize your microgreens growing experience, it is important to understand the differences between natural light and artificial light, as well as how to effectively position your growing setup for maximum exposure.
Natural light, when available, can be an excellent option for growing microgreens. Placing your microgreens near a south-facing window typically provides the best conditions, as this orientation captures the most sunlight throughout the day. However, one must be cautious of direct sunlight during the peak hours of the day, which can lead to overheating. It is advisable to monitor the temperature and ensure the greens do not become scorched. For those in locations with limited sunlight or during seasons when daylight hours are shorter, artificial lighting becomes crucial.
When it comes to artificial light sources, LED grow lights are recommended due to their energy efficiency and adjustable spectrum, which can support the photosynthesis process of microgreens effectively. Ideally, a full-spectrum LED grow light should be positioned about 12 to 24 inches above the growing greens, ensuring that they receive an adequate amount of light without the risks associated with heat burn. The light should be left on for about 12-16 hours a day, which mimics natural sunlight and helps in maintaining healthy growth.
In conclusion, providing proper light conditions is vital for successful microgreen cultivation. Whether utilizing natural sunlight or artificial grow lights, careful consideration should be given to positioning and duration to create an optimal environment for these nutritious plants to flourish.
Maintaining Ideal Growing Conditions
Creating an optimal environment for microgreens is crucial for their growth and overall health. Without soil, microgreens rely heavily on humidity and temperature to thrive. Ideally, the humidity level should be maintained between 40% and 60%. This can be achieved by misting the microgreens lightly with water on a daily basis, ensuring they remain moist but not overly saturated.
Temperature plays an equally vital role in the cultivation of microgreens. A consistent temperature range of 65°F to 75°F (approximately 18°C to 24°C) is ideal for most varieties. It is important to monitor the temperature regularly, as fluctuations can hinder growth or even kill the plants. If your kitchen tends to be cooler or warmer than this range, consider using a heat mat or an adjustable air conditioning unit to regulate the temperature.
In addition to humidity and temperature, monitoring growth progress is essential. Regularly check your microgreens for signs of maturation. This involves observing the size and color of the leaves as well as how densely they are growing. As they mature, microgreens will develop true leaves that can indicate when they are ready for harvest. Some varieties may be ready within a week, while others might take up to two weeks, depending on the specifics of their growing conditions.
Using a clear cover or a humidity dome can help retain moisture during the germination phase. However, it should be removed after seedlings begin to sprout to prevent mold growth and ensure proper air circulation. Regularly check for any signs of mold or pests, which can occur in high humidity environments. Maintaining these ideal growing conditions is essential to ensure that microgreens flourish without soil.
Harvesting Microgreens
Harvesting microgreens at the optimal time is crucial for ensuring maximum flavor and nutritional benefits. Generally, microgreens are ready for harvest between 7 to 21 days after sowing, depending on the variety. The key to identifying when they are ready is to look for several important indicators. First, monitor the growth of the seedlings; they should be at least 1 to 3 inches tall and have developed their first set of true leaves. For instance, varieties like radish and mustard may mature faster than others like basil or broccoli.
When harvesting, it is essential to use clean, sharp scissors or a knife. This helps in making a clean cut and prevents potential damage to the delicate plants. Begin by assessing the center of your microgreens tray; this is usually where the plant growth is most vigorous. Carefully position the scissors a few millimeters above the soil or base of the seedling, and make your cut swiftly.
Handle the microgreens gently after cutting, as they can be quite fragile and prone to bruising. It is advisable to avoid grasping them directly; instead, use your other hand to cradle them while transferring to a bowl or container. Harvesting in the morning is recommended, as the flavor is often at its peak during this time. After harvesting, rinse the microgreens with water to remove any debris and then gently pat them dry.
It is worth noting that harvesting microgreens can be done multiple times if the plants are not entirely cut down, allowing for some regrowth. However, do monitor their health to avoid compromising flavor and texture. Regular observation will aid in comprehensively understanding the appropriate timing for subsequent harvests, thereby enhancing your overall microgreens growing experience.
Storing and Using Microgreens
Once you have harvested your microgreens, proper storage becomes essential to maintain their freshness and nutritional value. Microgreens can be stored in a refrigerator where the cool temperature helps slow down wilting and decay. To store them effectively, gently rinse your microgreens under cold water and pat them dry with a clean paper towel. This removes any residual moisture which can lead to spoilage. Place the dry greens in a shallow container lined with a damp paper towel, covering them loosely with another layer of paper towel or a breathable lid. This method will help preserve their crispness while allowing for adequate airflow.
Microgreens are not only visually appealing but they also offer a robust flavor profile that can elevate the taste of various dishes. Their use in the kitchen is versatile; you can incorporate them into salads, sandwiches, and wraps to add crunch and a burst of flavor. Many chefs and home cooks alike also sprinkle microgreens on top of soups as a finishing touch, enhancing both presentation and nutrition. For those looking to experiment, mixing different varieties—like radish, mustard, and pea shoots—can create a complex flavor experience.
Additionally, microgreens can be blended into smoothies for an added nutrient boost or used as a base for a refreshing microgreens salad. They can also serve as an elegant garnish for main courses, offering both flavor and visual appeal. Given their concentrated nutrients, microgreens are a beneficial addition to any meal, ensuring that you not only enjoy their taste but also reap their health benefits. Experimenting with different recipes and presentation styles not only enhances the culinary experience but also fosters a deeper appreciation for these nutritious greens.


